


- 1.准备工作
-
1.0,准备一台Linux环境的机器,可以通过VMware虚拟机安装,也可以购买第三方云服务器。VMware安装Linux地址
-
1.1,如果是VMware安装的Linux系统,需要先关闭防火墙(方便后续操作),查看系统版本
cat /etc/issue
-
当前版本为CentOS 6关闭防火墙命令service iptables stop, CentOS 7关闭防火墙命令为systemctl stop firewalld.service
- 1.2,如果是购买的云服务,需要先开放端口,Nexus默认端口是8081,可以根据自己修改的端口自行开放(后续会说明端口修改方式)。
- 1.3,准备一个连接Linux的工具,[点击下载xshell](https://uninote.com.cn/%E8%BD%AF%E4%BB%B6/Xshell_5.0.1326.rar "点击下载")。
- 2.下载Nexus
- 2.1,Nexus下载地址
- 2.2,Nexus官网下载地址
- 2.3,直接在Linux里面下载,通过命令
wget https://sonatype-download.global.ssl.fastly.net/nexus/oss/nexus-2.14.8-01-bundle.tar.gz

- 3.上传Nexus到Linux
- 3.1,如果是使用2.3步骤的请忽略此步骤
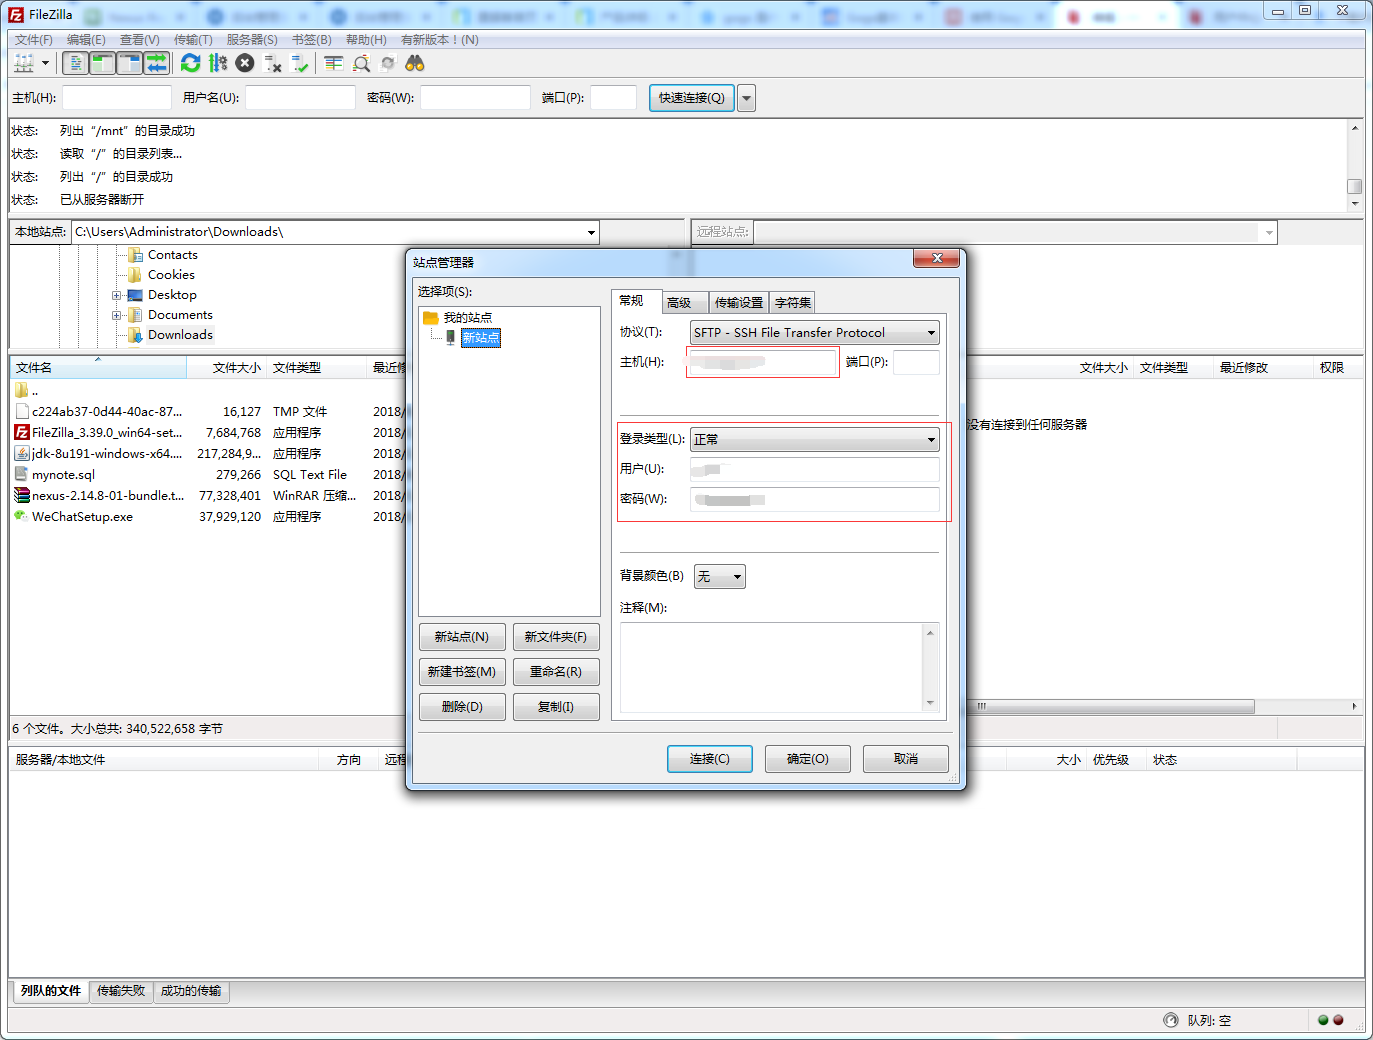
- 3.2,使用文件上传工具将文件上传到Linux上面,这里使用的是filezilla。
点击文件 -> 站点管理器 -> 新站点 -> 输入ip -> 登录类型选择正常 -> 输入用户名和密码 -> 点击连接
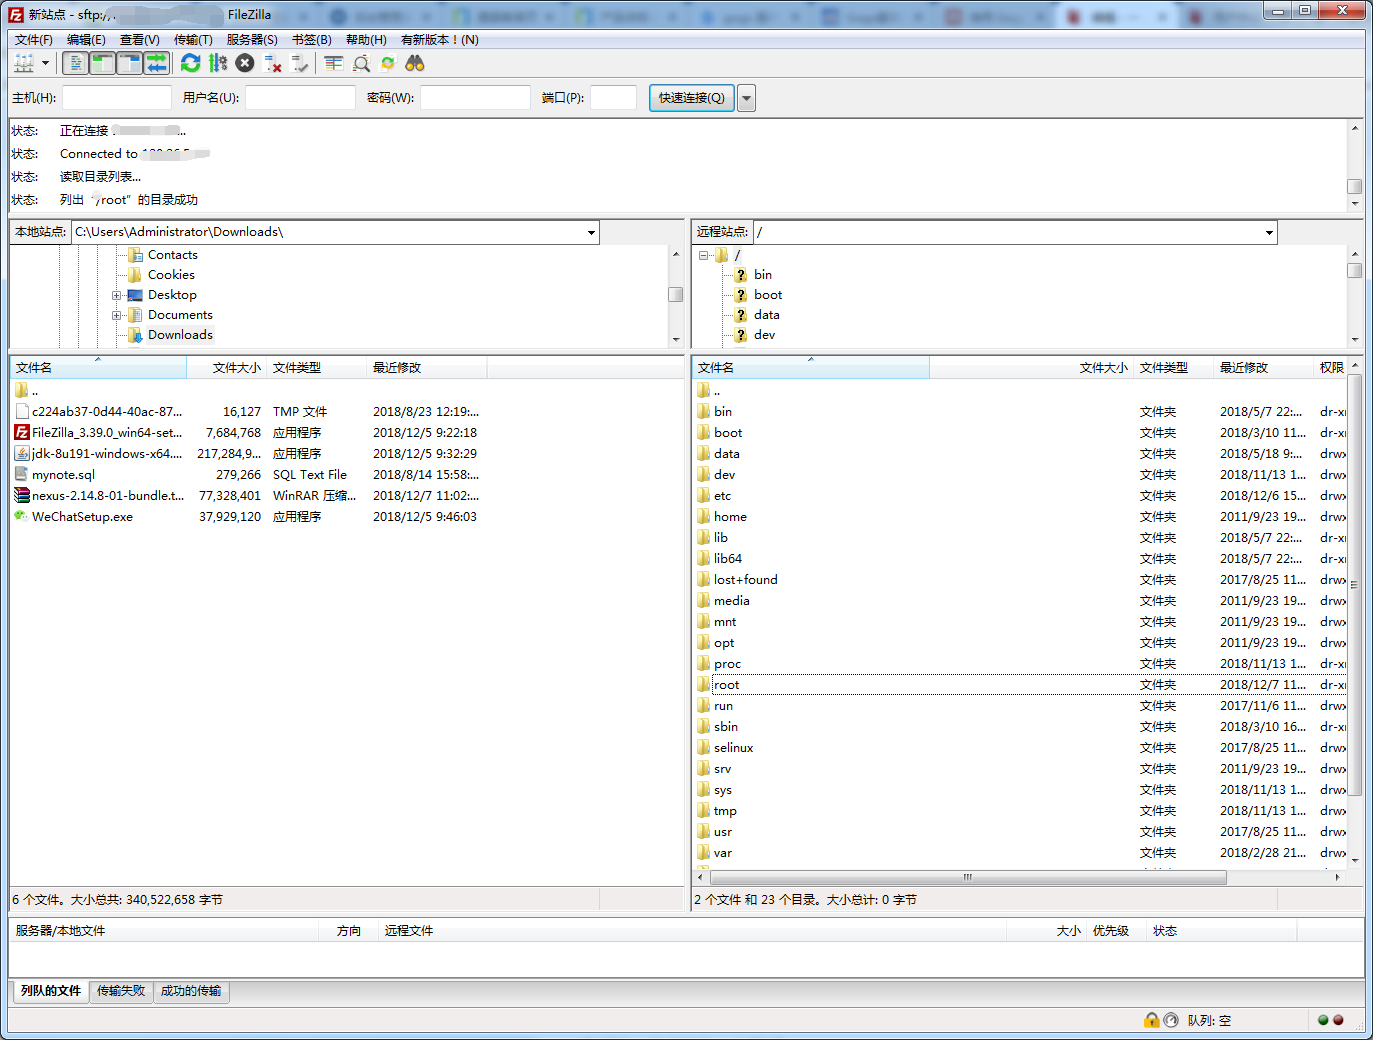
 右边的列表栏就是Linux系统的目录,进入root目录里面新建一个文件夹为nexus,然后将下载的包拖进去。
- 4.安装Nexus
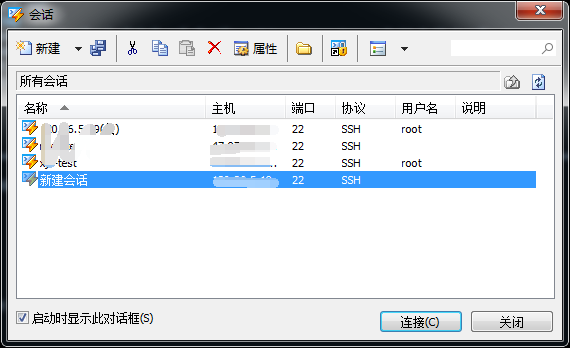
- 4.1使用xshell连接上Linux
文件 -> 新建 -> 输入对应的值 -> 确定
 点击连接
点击连接
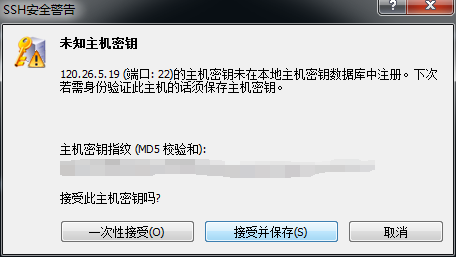
 接收并保存
接收并保存
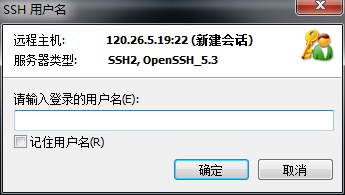
 输入用户名
输入用户名
 输入密码,点击确定。
 登录进来了
登录进来了

- 4.1,进入刚才上传的文件的目录。
cd /root/nexus
- 4.2,解压
tar -zxvf nexus-2.14.8-01-bundle.tar.gz 得到两个文件夹
nexus-2.14.8-01 是nexus的核心文件
sonatype-work 是maven下载jar存放地址
得到两个文件夹
nexus-2.14.8-01 是nexus的核心文件
sonatype-work 是maven下载jar存放地址

- 4.3,启动nexus,如果界面和下图一样就成功了。

- 4.4,启动失败的情况,如果启动时显示下图的信息,是因为默认情况下nexus不建议用root身份运行。

- 解决办法:需要修改两处配置。
01:进入nexus-2.14.8-01下的bin目录
 修改nexus文件,使用vim编辑器,可能刚系统里面没有vim编辑器,那么就使用vi编辑器,在打开的文件里面加上RUN_AS_USER=root 这一句,加上过后按esc输入*:wq* 退出。
vim nexusorvi nexus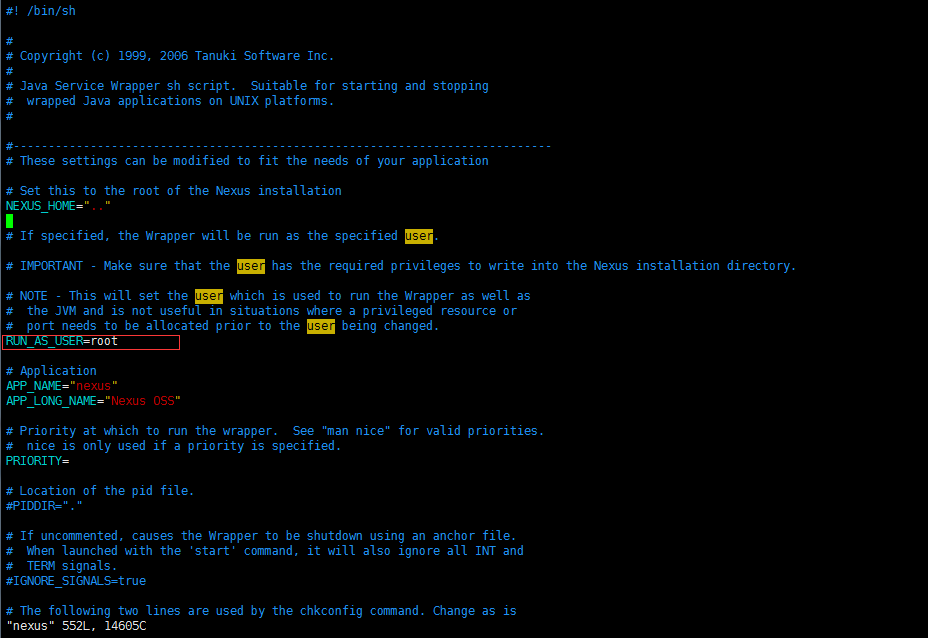 02:继续修改 /etc/profile 文件
vim /etc/profile,在末行加入exprot RUN_AS_USER=root,保存退出。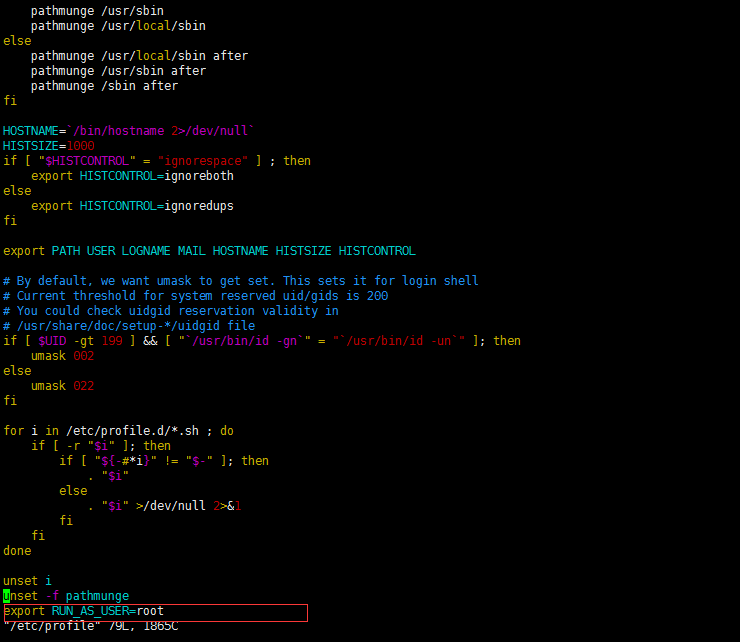 输入
输入 source /etc/profile命令让配置文件生效。 再次启动就OK了
需要修改端口就进入进入nexus-2.14.8-01 下的 conf 目录下面,然后修改nexus.properties文件里面的端口信息就行了。
再次启动就OK了
需要修改端口就进入进入nexus-2.14.8-01 下的 conf 目录下面,然后修改nexus.properties文件里面的端口信息就行了。
- 4.1使用xshell连接上Linux
文件 -> 新建 -> 输入对应的值 -> 确定
- 5.nexus管理。
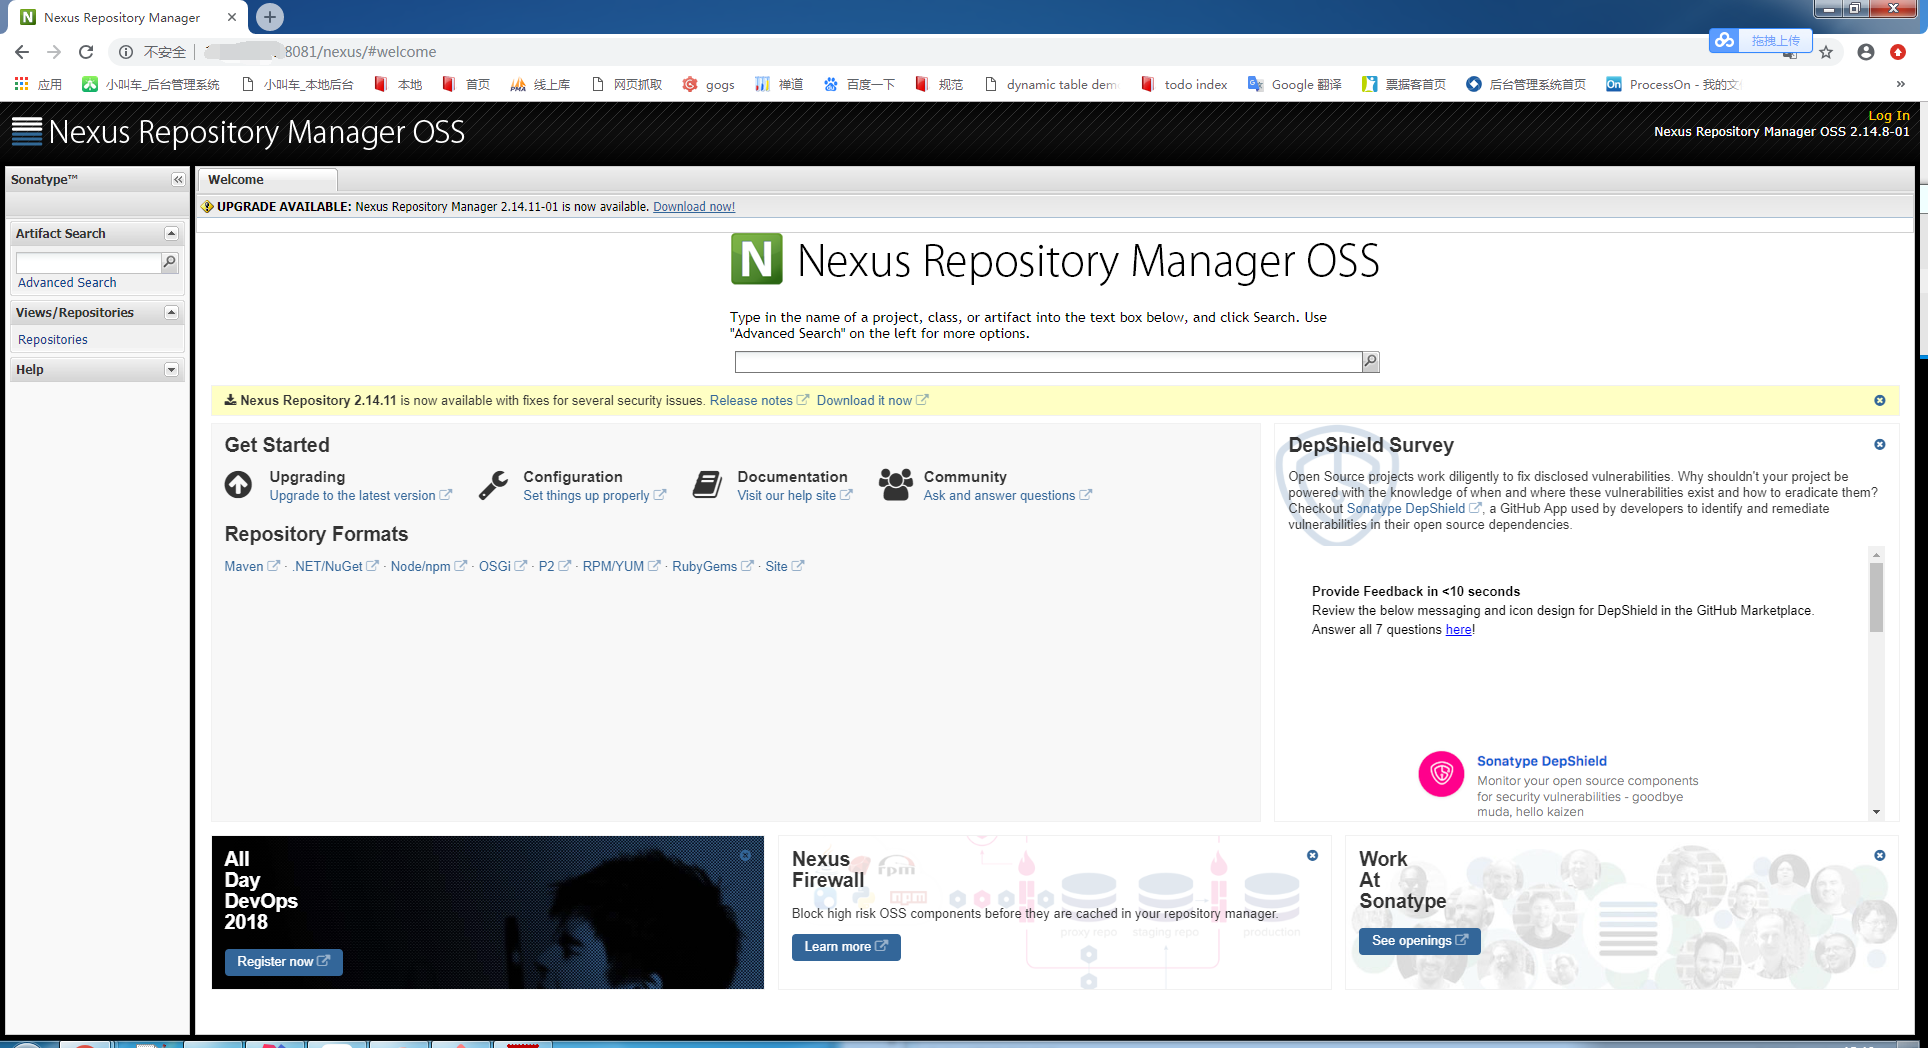
- 5.1,进入nexus系统,进入欢迎界面
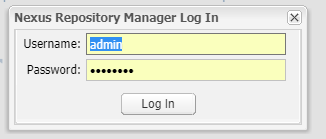
- 5.2,登录系统,默认用户名和密码(admin/admin123)
- 5.1,进入nexus系统,进入欢迎界面
- 6.系统配置
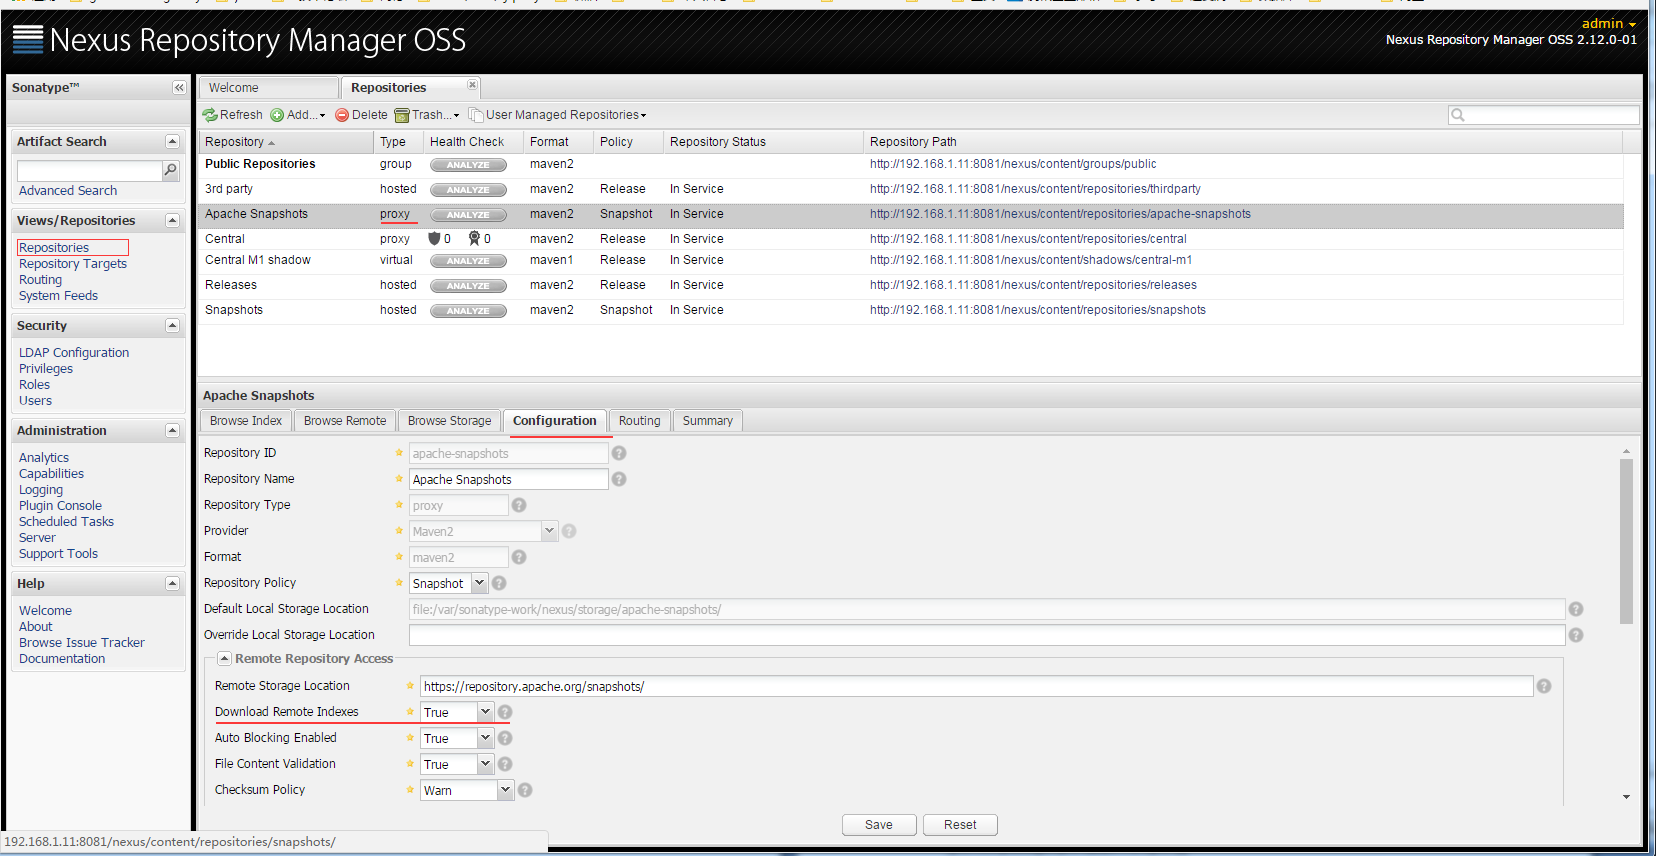
- 6.1,点击Repositories,将列表中所有Type为proxy 的项目的 Configuration 中的 Download Remote Indexes 设置为True
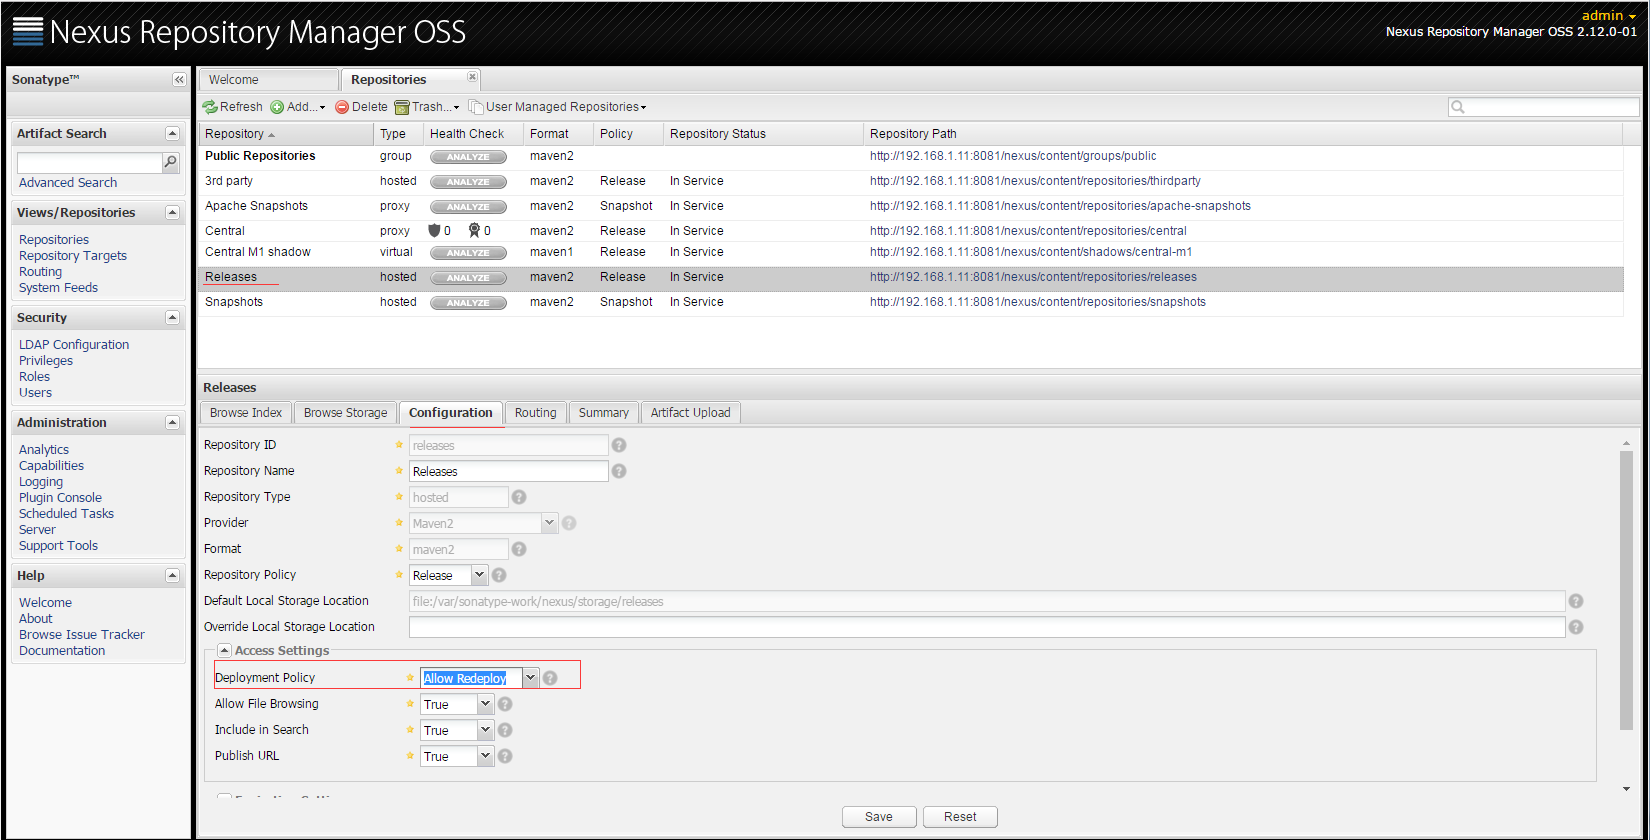
- 6.2,将Releases仓库的Deployment Policy设置为 Allow ReDeploy
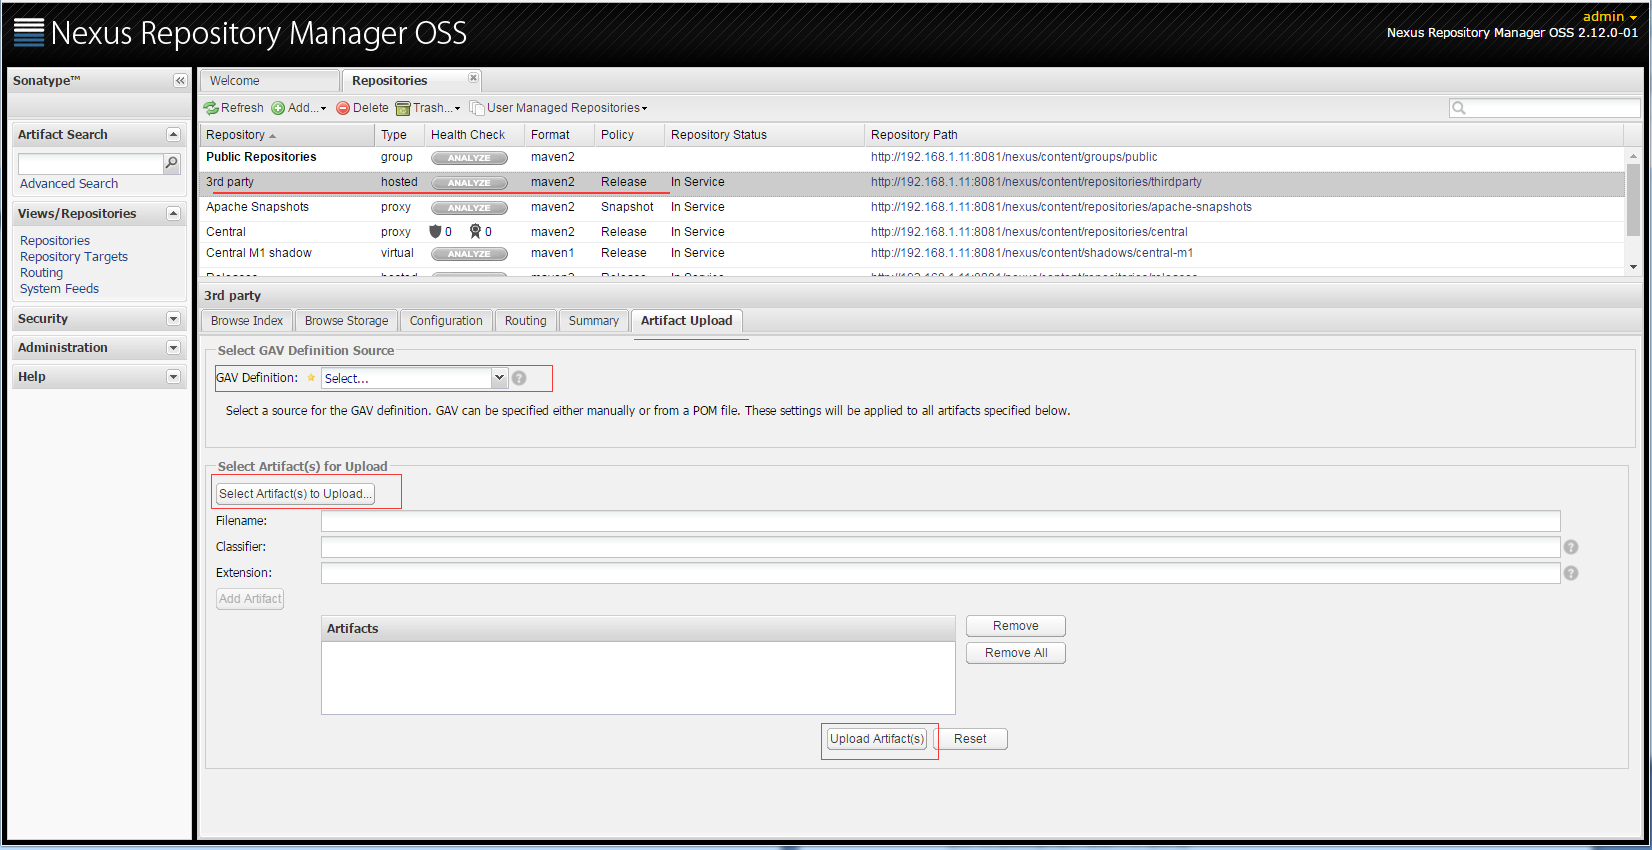
- 6.3,当然我们也避免不了会使用到一些第三方的 jar ,而这些jar包也不存在于互联网上的maven中央仓库中,这时我们可以手工添加jar 到我们的私服中。
添加第三方 jar 如下:
- 6.1,点击Repositories,将列表中所有Type为proxy 的项目的 Configuration 中的 Download Remote Indexes 设置为True
- 7.配置本地项目自动上传jar到私服
- 7.1,自动发布构件到远程仓库,在工程pom.xml中添加
<distributionManagement> <repository> <id>releases</id><!--这个ID需要与你的release仓库的Repository ID一致--> <url>http://192.168.1.11:8081/nexus/content/repositories/releases</url> </repository> <snapshotRepository> <id>snapshots</id><!--这个ID需要与你的snapshots仓库的Repository ID一致--> <url>http://192.168.1.11:8081/nexus/content/repositories/snapshots</url> </snapshotRepository> </distributionManagement>
	- 7.2,修改本地$MAVEN_HOME\conf目录下的settings.xml配置文件,添加如下配置
	```xml
<servers>
    <server>
        <id>releases</id>
        <username>admin</username>
        <password>admin123</password>
    </server>
    <server>
        <id>snapshots</id>
        <username>admin</username>
        <password>admin123</password>
    </server>
</servers>
- 7.3 在本地工程目录下执行`mvn deploy`所部署的包就自动上传到了nexus安装目录下的

- 8.配置Maven从Nexus下载构件
- 8.1,在POM中配置Nexus私服,这样的配置只对当前的Maven项目有效。
<repositories> <!--指定Nexus的构件仓库--> <repository> <id>public</id> <name>Team Maven Repository</name> <url>http://192.168.1.11:8081/nexus/content/groups/public/</url> <releases> <enabled>true</enabled> </releases> <snapshots> <enabled>true</enabled> </snapshots> </repository> </repositories> <pluginRepositories> <!--指定Nexus的插件仓库--> <pluginRepository> <id>public</id> <name>Team Maven Repository</name> <url>http://192.168.1.11:8081/nexus/content/groups/public/</url> <releases> <enabled>true</enabled> </releases> <snapshots> <enabled>true</enabled> </snapshots> </pluginRepository> </pluginRepositories>
	- 8.2,在settings.xml中配置profile元素,这样就能让本机所有的Maven项目都使用自己的Maven私服。
	```xml
<properties>
        <repository>
            <id>public</id>
            <name>Team Maven Repository</name>
            <url>http://192.168.1.11:8081/nexus/content/groups/public/</url>
            <releases>
                <enabled>true</enabled>
            </releases>
            <layout>default</layout>
            <snapshots>
                <enabled>true</enabled>
            </snapshots>
        </repository>
</properties>

